How To Use An Embroidery Hoop: Embroidery For Beginners
An embroidery hoop is essential if you want to start embroidering. You can get different size embroidery hoops depending on the size of your project and personal preference. Getting the supplies you need for embroidery is inexpensive and it’ll keep you occupied for hours.
View our range of embroidery hoops.
In this article, we’re going to explain what supplies you’ll need and how to securely place the fabric in an embroidery hoop.
What is an embroidery hoop?
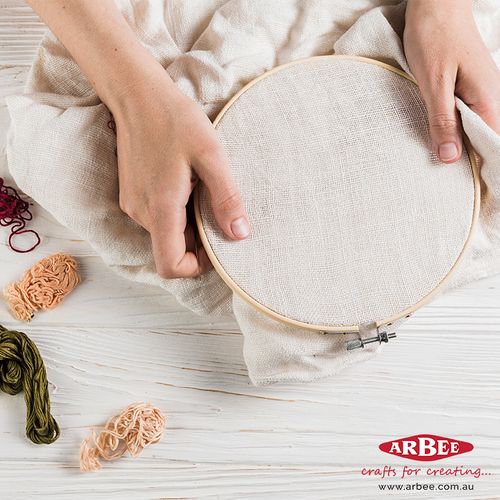
An embroidery hoop, as the name suggests is a hoop that keeps your embroidery fabrics taut as you work. So if you’re learning how to cross-stitch, an embroidery hoop will make it much more manageable and helps with stabilising fabric to give you better results.
The secret to stitching in an embroidery hoop is to have the right amount of tension on your fabric. Sometimes you’ll need it very tight, while other times there should be some give. Whichever way you need it, the tension must remain the same for the stitches to end up even.
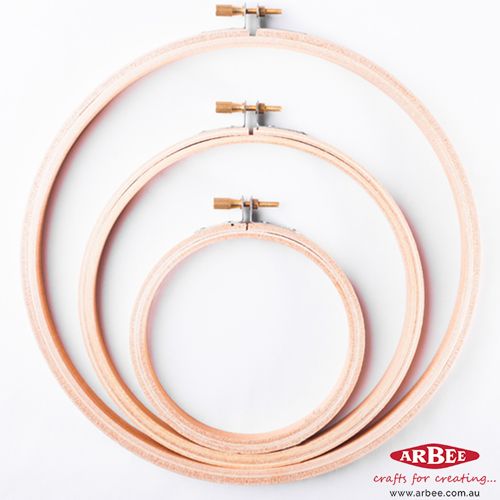
There are different types of hoops and depending on what you’re doing, many people like to have a few different sizes to work with. Embroidery hoops can be made from different materials, but wooden hoops are usually of better quality.
Supplies you need to work with an embroidery hoop
Embroidery Hoops: You can get embroidery hoops from as small as 3” to as large as 14”. It depends on how large your project is going to be. The smaller the hoop the less material you’ll need to cover the space. We have a range of wooden hoops and flexi hoops.
Hooping Fabric: You can use any kind of hooping fabric that you like. If it’s your first time and you just want to test it out, you can use an old t-shirt or any cotton that you may have on hand. Get as creative as you’d like by choosing other fabrics such as denim or polyester.
Embroidery Thread: You can choose any coloured thread that you’d like to work with.
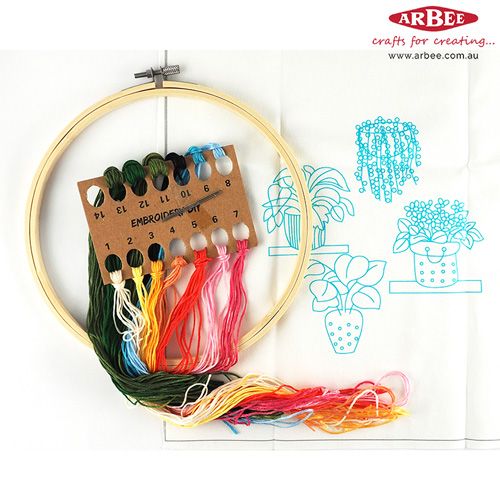
We also have a selection of embroidery kits that include everything you need for a beginners project.
How to use an embroidery hoop step-by-step
Step #1: Unscrew the top ring
Unscrew the little screw at the top and pop out the middle hoop. The outer hoop has the clasp and then you have the inside hoop.
Step #2: Place embroidery hoop on top of the fabric
Place the inside hoop on top of the fabric and leave about 2.5 cm on each side. You’ll want that little excess fabric so that it doesn’t come out of your hoop. Once you have finished your embroidery you can always cut off the excess or use a glue gun to stick down the fabric onto the back of the embroidery hoop.
Step #3: Cut the hooping fabric
Cut your hooping fabric leaving about 2.5 cm on each side of the hoop.
Step #4: Place fabric on top of the hoop
Place your cut fabric on top of the inside hoop. Once it’s centred, grab the outer hoop and slide it on top.
Step #5: Tighten the screw
Make sure your fabric is nice and smooth. Once you’re satisfied, start tightening the screw until it’s very tight and your fabric isn’t able to move around. This makes the embroidery process much easier.
It’s as easy as that. Once your fabric is being held taut by the embroidery hoop, you can start sketching out your design. Some people like to draw their design by hand in pencil but it’s up to you.
There are lots of tutorials online if you want to do some simple cross stitch projects.
What do you do with the embroidery in the hoop once it’s finished?
You have two options:
- Keep the embroidery in the hoop and hang it or frame it; or
- Take the embroidery out and place it in something else (eg. a picture frame)
Here’s what you can do if you want to keep the embroidery in the hoop:
- Trim around the hoop so that your excess fabric is only about 1 cm in width
- Use a hot glue gun and go around the hoop gluing down the fabric to the inside of the hoop so that you can’t see it from the front. This will make it look clean.
There are other ways of framing your embroidery, but this one is the easiest and least time-consuming.
So there you have it, beginning an embroidery project is easier than you think.
Happy crafting,
Arbee


